
iBR AOS01 Installation
This kit is designed to be the best AOS on the market. It is a triple pass system with carefully designed diameters and cross sections to effectively remove a range of oil droplet sizes. This AOS installs directly above the main crank case vent between the intake manifold and the TMIC. Installing here allows a clean look and the shortest possible hose routing. Since this is a true AOS the oil drains back into the block and never needs to be emptied. Small ridges on the faces of the spiral baffles collect the oil and allows the oil to stay out of the laminar airflow and effectively drain down to base of the system. The internals can be cleaned periodically by disassembling the unit with the tool-free thumb screw on top.

Remove TMIC or FMIC PIPING
In order to proper access all the hoses and fittings at the very least you will have to remove your TMIC. It may be easier if you have a FMIC to uncouple the cold side piping from the throttle body.
For 2008+ Cars unbolt boost control solenoid bracket
Just above the turbo inlet near the on the RH side of the throttle body there is a bracket that holds the factory boost control solenoid. This needs to be removed to make room for the new AOS. The boost control solenoid can be removed from the metal bracket and zip tied out of the way after the AOS is installed.
Disconnect stock breather lines from turbo intlet
There are two breather lines connected to the turbo inlet. One closest to the turbo may have a white plastic clip and electrical connector that you will disconnect to remove it. The connection towards the front of the car is usually easy to find as it connects to the black metal tubing that is normally bolted to end tank on an OEM TMIC.
We will update these photos and others with shots of the factory line very soon! For now we are just showing the location of the connection.


Disconnect hose from main block breather vent and intake manifold port under throttle body
The main block breather is down almost under the turbo compressor outlet. It is a larger diameter hose that leads into a black plastic fitting with a silver PCV valve installed. Follow the hose connected to the PCV valve to where it connects to the mainfold. The other hose connected to the black plastic fitting was the breather line connected to the turbo inlet closest to the turbo. The picture here shows where these points are located relative to the turbo and throttle body.


Again, we will have better before photos soon!
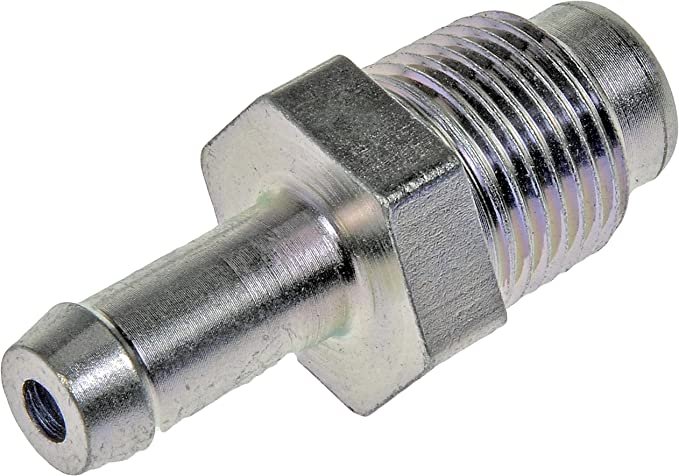
Removing the PCV VALVE OR BUYING NEW
At this point the PCV valve assembly with hoses will be off the car. You can either decide to remove your existing PCV valve from the OEM housing or buy a new one. We are not sure why some are easier than others but some of the PCV valves refuse to budge from the plastic housings. A cheap and easy alternative is to buy an aftermarket PCV valve like this one here: https://www.amazon.com/Dorman-47239-PCV-Check-Valve/dp/B01ID3FLJA/
The OEM Subaru part number for just the PCV valve is 11810AA040
If your car has a white plastic clip you can also remove that. The OEM hose clamp can be removed by pinching the hook area with pliers and bending it back. Save the white plastic connection to be reinstalled on the provided hoses.

INSTALL PCV VALVE INTO AOS
For street driven cars we feel it is really important to maintain the PCV valve and its function. It provides much needed airflow under low load. The AOS01 has a port on the top of it to receive the OEM PCV valve or equivalent. No thread sealants are needed and it should be tightened in until it bottoms out. Just like the factory part you are threading into plastic so don’t go overboard as it will seal just fine on its own.
Disconnecting the Valve cover vent ports
Depending on which car you have you may have either one or two breather connections on the valve covers. On the STi and a lot of the later cars there are two breathers. The rear breather is a balance port that connects the block and both valve covers. We will not be touching this port or modifying those connections in any way. We want to connect to the connections that eventually end up and the front turbo inlet connection we disconnected earlier. These hoses we are disconnecting run to the black metal tubes that are generally bolted to the lower end tank of the OEM TMIC. Those hoses and the black metal pipes can be removed as they will not be reused.
Connecting hoses to the AOS
Now we can go ahead and do basic assembly on the AOS. It is generally easier to install all the hoses onto the AOS while it is out of the car. You can position all the provided hose clamps as shown and attach the white connector if required.
INSTALLING THE AOS
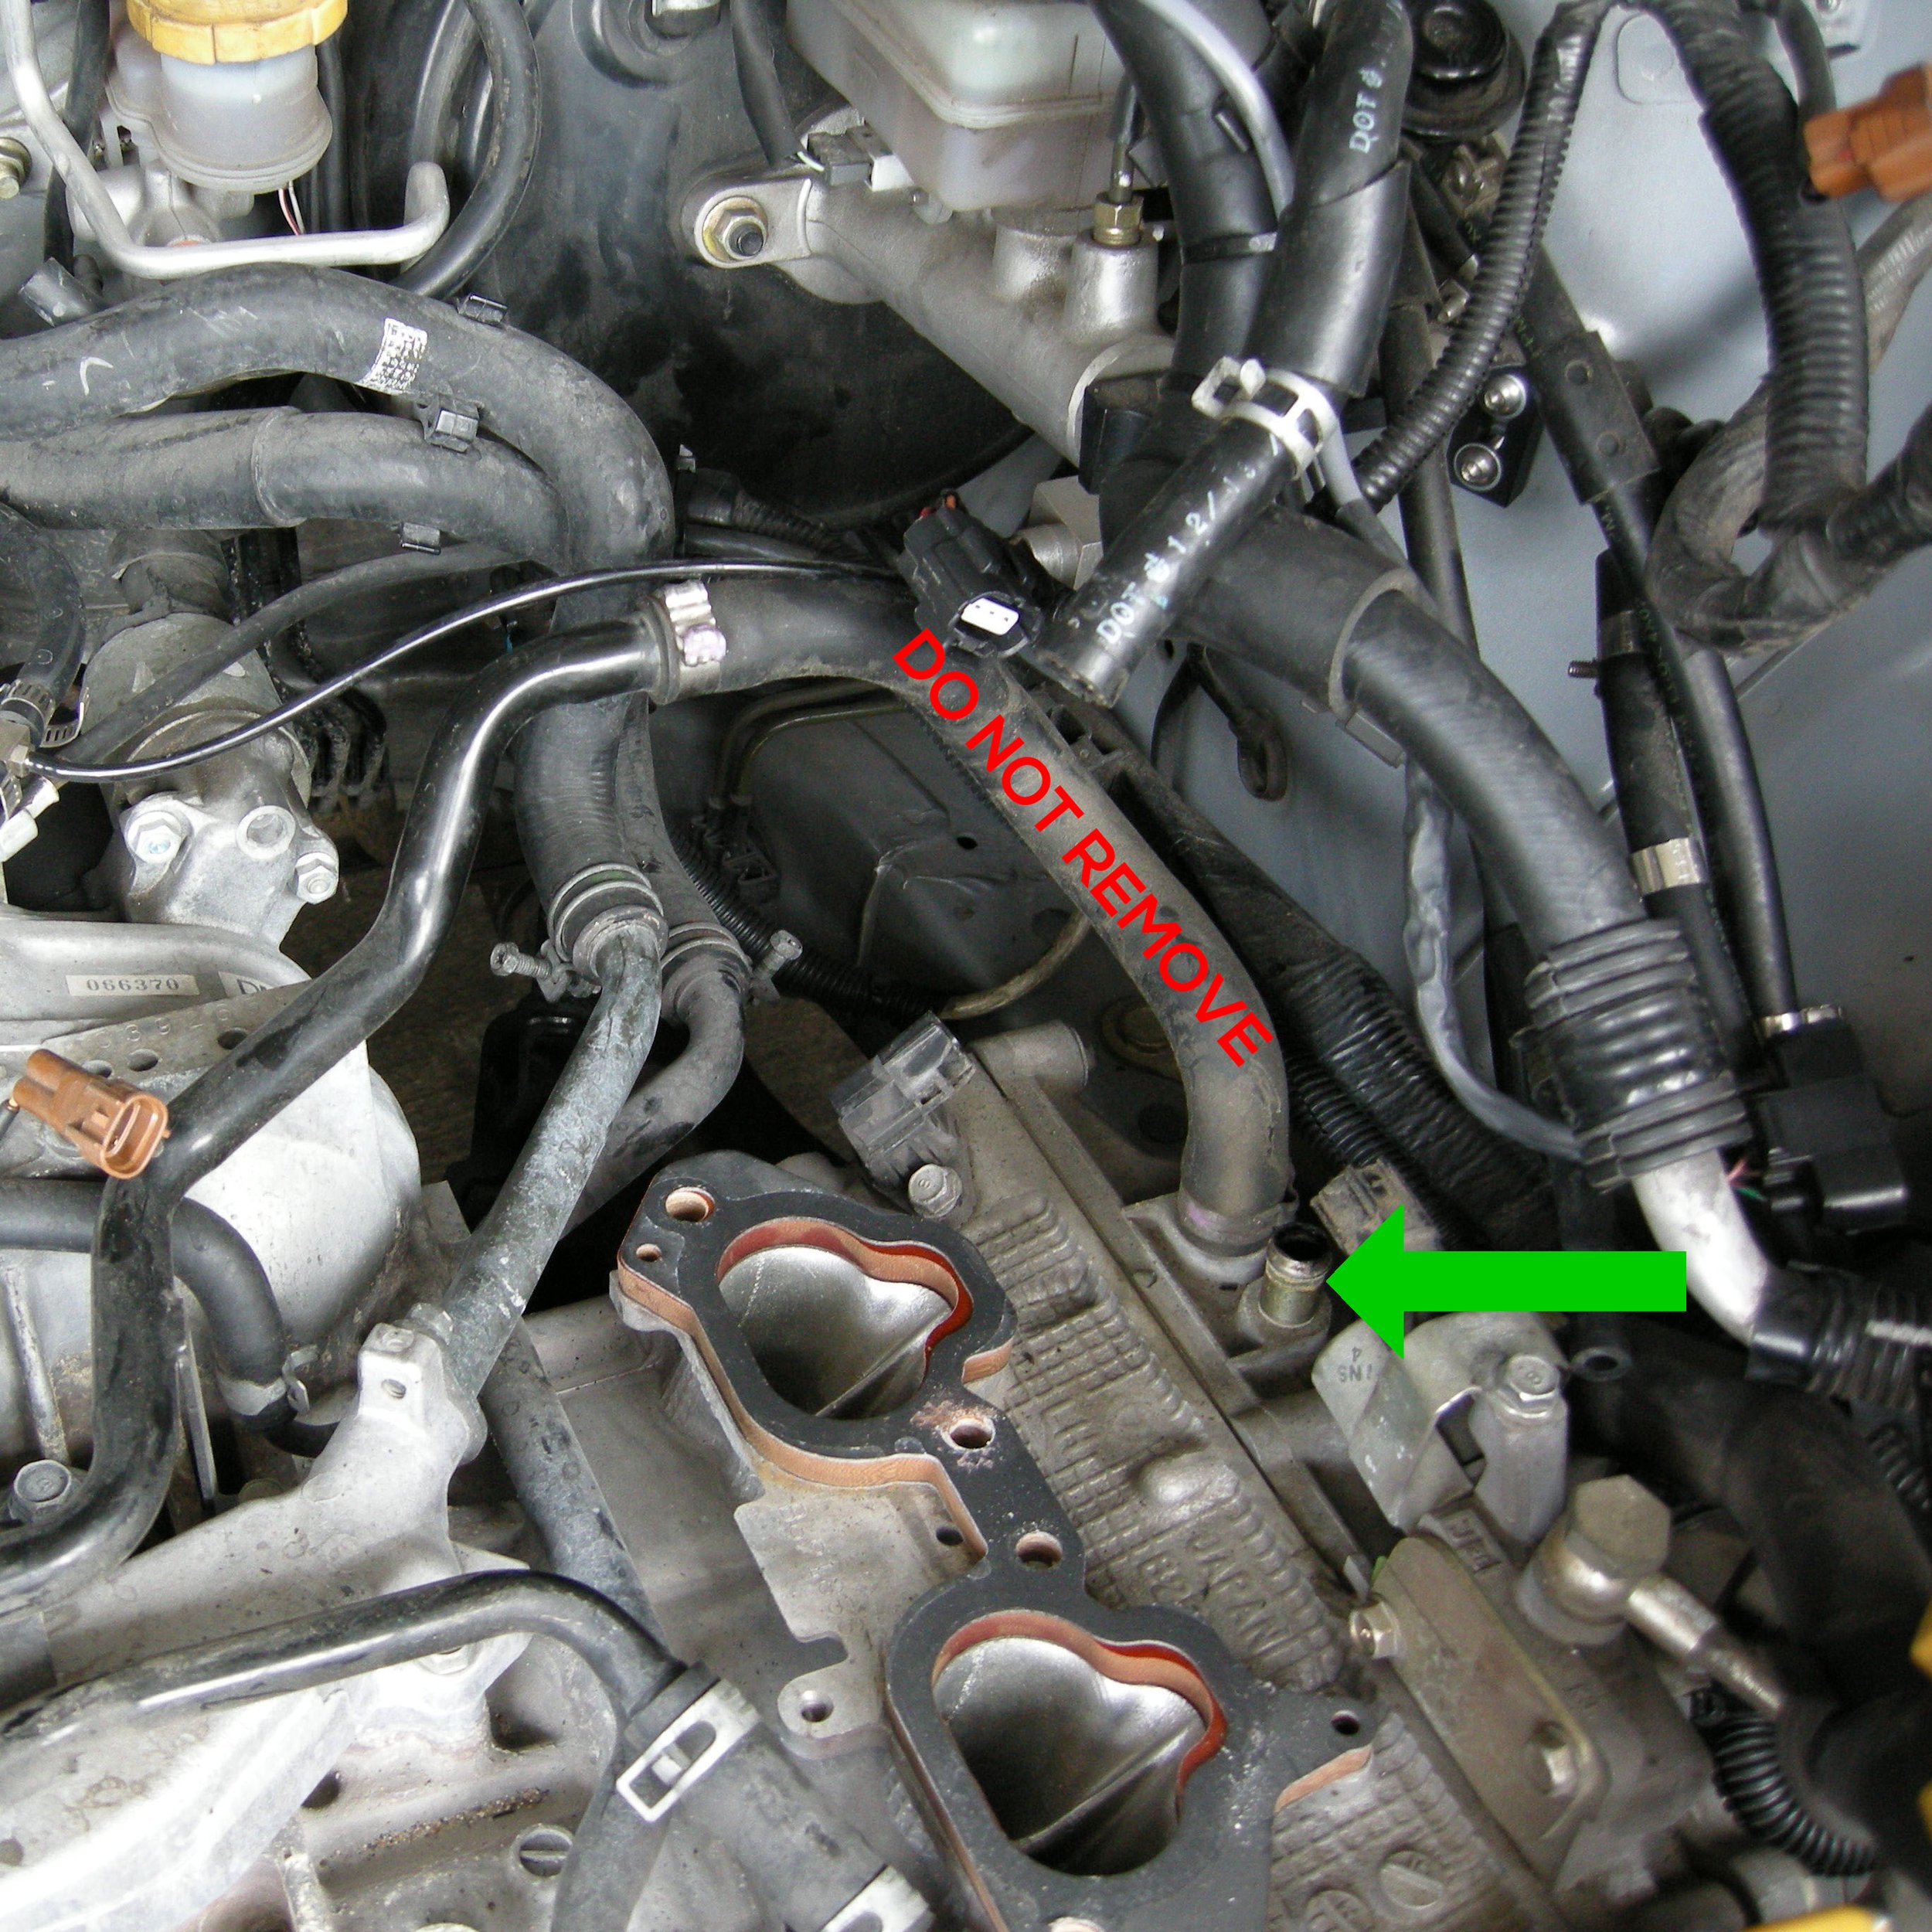
Finally we can start putting things into the car. First you will remove the top two bolts from the throttle body and install the bracket that comes in the kit as shown. The bottom 3/4” tube connected to the AOS is then slid onto the block port and the spring clamp is moved into place to prevent it from coming off. After the lower tube is connected you can move the AOS to align with the throttle body bracket. The screw goes through the red aluminum washer then into the bracket as shown with the green arrow. If needed you can rotate the top cap of the AOS and the bottom hose connection to get the alignment to the bracket and manifold spaced correctly.


Connecting the PCV and turbo inlet hoses
First we can go ahead and connect the hose from the metal PCV valve in the top of the AOS to the barbed fitting under the throttle body. This will be difficult to see but it should have been located earlier when removing the factory hose from the connection. This is the most important connection to get the hose clamps on correctly as this hose is the only hose that will actually see pressure under boost.
Next the 5/8” diameter hose can be connected to the front turbo inlet connection. This hose is short and reasonably easy to connect. Then connect the rear turbo inlet connection, for this we chose to use a longer hose and loop the hose around to the connection near the base of the AOS. If you have an FMIC and want to clean up this connection you can shorten this hose a little but make sure it doesn’t kink.


Connecting the VALVE COVER BREATHER HOSES
Now you can route the two longest hoses to the valve cover breather ports. These hoses may need to be trimmed depending on exactly how you want to route them. See the photos below. After these hose are connected you can reassemble you TMIC or FMIC piping and the process is complete. While this AOS does drain back into the block we will have information coming soon about how to disassemble, inspect and clean the internal parts of the AOS itself. Stay tuned!

